
Tara challenged Jane and me to create a design with the "northern lights technique" as our Challenge Spark this week. (WOW, Tara, was this EVER a challenge!) What I found is that you actually have to THINK and PLAN AHEAD on this one! And as you follow my tutorial you will see my brain had a few glitches! Oh well, you will also see how it's possible to cover up mistakes!
YES! I made you a very amateur tutorial this time! Bear with the poorly lit photographs; hopefully in a few days we'll be able to fix that ongoing problem. I just couldn't wait for better pictures; had to do this RIGHT NOW! And I think you'll be able to follow my thought-pattern on here even if it's shady!
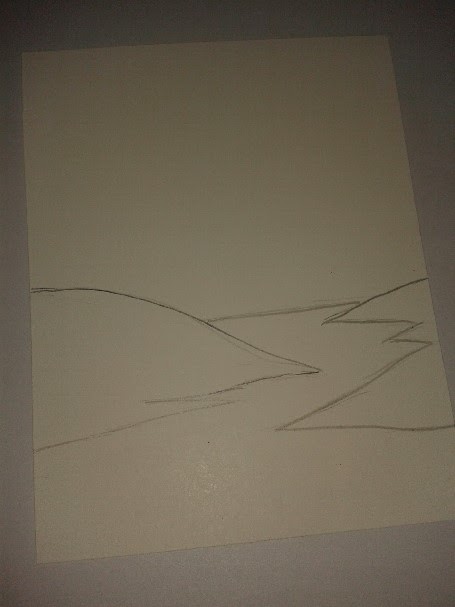

I cut out my hills to use as a mask.

Using a little bit of adhesive (mistake number one! Next time use, um, something less permanent maybe???!!! Still thinking on that one!) I adhered my hills onto another 4 1/4" by 5 1/2" piece of whisper white cardstock, making sure to place it exactly where I'd had it in my sketch.

Since I wanted my northern lights to kinda splay outward from a central spot I began my sponging in that general shape, making sure the reflection in the river was similar. I started with So Saffron.

...then added Pear Pizzazz along one side of each yellow stripe.

With Rich Razzleberry I filled in most of the white space. By now I could see my northern lights were turning into a v-shape, a bit more than I'd hoped, but I continued...

...filling in the white with Not Quite Navy, defining the night sky a bit more.

I finished off my night sky with heavily sponging in the Night of Navy, making sure to shadow it deeply beneath the hills.
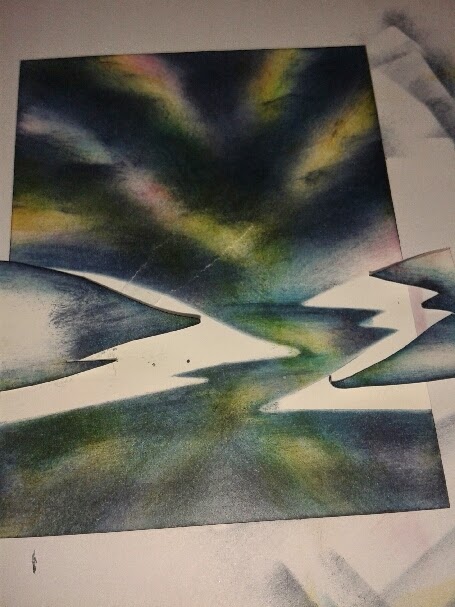
Now to unmask the hills. And here's where I GASPED! If you look closely, you'll see where the left-hand hill tore a layer right through the sky. But I'd come too far to start over. Experience has taught me I can "fix" mistakes. So to continue...

I used the other part of my mask to cover up my northern lights and I just held this piece in place since I had to move it ever so slightly as I sponged on the black ink. I wanted to cover up all the white that was left. Then I unmasked it and beheld my beautiful river and hills.

(UGH, that tear! But we WILL fix it up yet!) Taking my uni-ball Signo gel pen I highlighted the hills where in theory the light might reflect a bit. I got it too white, so with my inky fingers I smudged it up a bit. You can't see that part too well, but you're following my thought process, right?! I also used that same pen to stripe in the ripples in the river.

A small piece of torn black cardstock covered most of our original tear! See? Simple! I'm so glad I didn't trash it back then when I GASPED!!! I used that spot as the place for my "thinking of you" stamp. I used pearls to finish it off; rhinestones would have been better as they are more watery if you know what I mean. But I'm out of rhinestones and the next batch is on the UPS truck even as we speak!
Anyway, like I said, these northern lights are a bit too organized for my taste, but for a first, I'm not so disappointed. Next time I'll try and streak them across the sky a little more.
And I'll TRY to not tear my paper!
And for NEXT WEEK'S Challenge Spark: something all-white or all-white with one tiny burst of color.
And for NEXT WEEK'S Challenge Spark: something all-white or all-white with one tiny burst of color.


