Friday 27 March 2015

The Challenge Spark (quilted card)

Jane from  White Orchid challenged Tara from Country Girl {Creates} and me to quilt a card. Not literally, of course, but to give a card a warmhearted quilt-block style. We do this challenge spark thing every week, taking turns with the challenges. Next week Tara wants us to make something using SU's Designer Series Paper.

But back to the quilt card, I've never done one of these before, but I was kinda pleased with the old country-style look of the Cherry Cobbler and Baked Brown Sugar color combo. I finished it with "You warm my heart" from Sheltering Tree as well as a few ribbons and buttons. Oh! And I dare NOT forget! I used my beautiful Husqvarna sewing machine's feather stitch and sewed between the blocks!

Kinda makes me feel like doing more of these!


Monday 23 March 2015

I'm Thankful for YOU!

I thought I'd use this stamp a lot. I got it last fall right before I got very sick, so I didn't use it on the place-mats for Thanksgiving like they showed us in the Holiday Occasions Catty back then. That was such a neat idea. Stamp it on a Kraft paper place-mats or tablecloths and put pens by each place so your guests can fill in the blanks.

It sat on my shelf idle and unused until yesterday when I struck upon an idea to pair it with my new Little Letters thinlits dies. Once I got past the fall idea I was away!!! A little emboss resist, a little butterfly and a little tearing and it was done!

Sunday 22 March 2015

Crumb Cake and Cherry Cobbler


Time for Dessert! These colors are a favorite combo of mine. And I'm learning I really LOVE embossing with white on Crumb Cake. Then color in the image. Gorgeous!


Here's a completely different style of card made using the same colors. I dusted the edges with Espresso sponging to weather it a bit. Always like a touch of vintage.

wow! what all you can do with Just Kidding!


Simply stamp the words and image onto Crumb Cake card stock, sponge a bit behind the lady and color the picture. I added flowers and the ferns from Butterfly Basics. Oh, and a bit of color around the edge. Easy. And I was rather delighted with the outcome!


Don't you just love this funny ol' lady from Just Kidding? I'll gladly order you this stamp set! It's a really good one!

a tough week (good-bye is hard)


A young wife is left to raise her children alone after her husband died in a logging accident early last week. Her parents and siblings live close to us, so we are well acquainted and feel the deep sadness along with the family. While listening to an audio streaming of the funeral service with all the gorgeous singing that seemed to be coming  straight from heaven, I idly made cards. Keeping my hands busy helps me understand better, seems like. This one (above) almost made itself since I wasn't really concentrating on my art. I was surprised to find myself using a stamp from Just Kidding for the sentiment. Truly, saying "goodbye" is hard. And I'm glad to be able to use this stamp set for something sad as well as humorous. I don't have anything inside the card since I do love having lotsa room to say my own thing now and then. Especially for an occasion such as this week's tragedy.


Another card borne out of an aching heart. Same occasion; same soothing tear-stained colors. I love using watercolor paper and re-inkers. Here I was also able to use my new Little Letters dies. Since I couldn't bear to toss the little strip I had to remove to fit my card base, I adhered it into the inside of the card. Nice touch, anyway!


Friday 20 March 2015

(challenge spark---realistic scene) hilltop camp-out


Since my favorite thing to do with cards besides embossing is making a scene (!) I wanted to see what Jane and Tara could teach me on this topic for our Challenge Spark this week! I also decided to use a stamp set I love but don't always know how to use. 

Basically what I did was stamp the tent on white cardstock as well as a sticky note (for a mask) and then also punched a 3/4" circle to mask off the moon. I then simply used various sponges to get the background color in and added some trees from Lovely as a Tree.

I keep forgetting to update you on the next challenge coming up. For next week, Jane is calling the shots and asking for a quilt card. You know? You sometimes see gorgeous cards that look like a quilt block? It's something I've always wanted to try and now here's my chance!

Friday 13 March 2015

The Challenge Spark (seldom used SU product or tool)

In the post right before this one, I told you that Tara challenged Jane and me to use a tool or product we seldom find a purpose for. I chose my Pool Party embossing powder. On this card I did the same layered embossing technique I used for this card complete with a tutorial on that link.

I used waaaay less of the top-coat embossing powder on this one, just a few streaks here and there.

The Challenge Spark (seldom used SU tool or product)


Tara from Country Girl {Creates} challenged Jane from White Orchid and me to use something, either a tool or other item or product from Stampin' Up that we seldom use. I chose my Pool Party Stampin' Emboss powder. I embossed "from all of us" with it. I don't have any clue why I seldom use colored embossing powder. Guess I most often grab white or clear since I prefer using an emboss resist technique.

It's good to branch out and it worked well here, paired with the "Hello You" thinlits dies. Gotta love the combo!

Thursday 12 March 2015

another background from a child!

That same day I was telling you about, when the group of kids gathered around my kitchen table, this background came from the 12-year-old's brushes and ink! He did well, don't you think?! I just love how the same palette creates completely different effects. It so totally depends on different artists as well as different brushes, amount of water used or even how loaded with ink the brush is. No two are ever EVER the same.

Again, I just added a few simple cutouts and some twine to complete the card. It didn't need anything more to cover the beautiful background.

I will clarify here. The paper we were using for this particular afternoon's projects, was on the cheaper side. It was only gauged at 119lb while I prefer SU's 140lb water color paper for an even better outcome. (If such is possible!) This paper needed using and what better way than for a bunch of youngsters to experiment and learn with?

More to come...

4-year-old talent (watercolor)


Few things inspire as much as teaching. Teaching any age. Teaching art. And though I'm not actively involved in an official teaching capacity at this time I do love impromptu art classes around my kitchen table where the light is just right.

A couple days ago I had the privilege of having several children of various ages join me in my watercolor experiments. It makes me so happy to watch what ink does when it touches a wet watercolor paper. Amazing! And the children watched while they munched chocolate chip cookies dunked in milk. But very soon they got out their own brushes and water glasses and chunks of torn paper. Just as I'd been hoping!

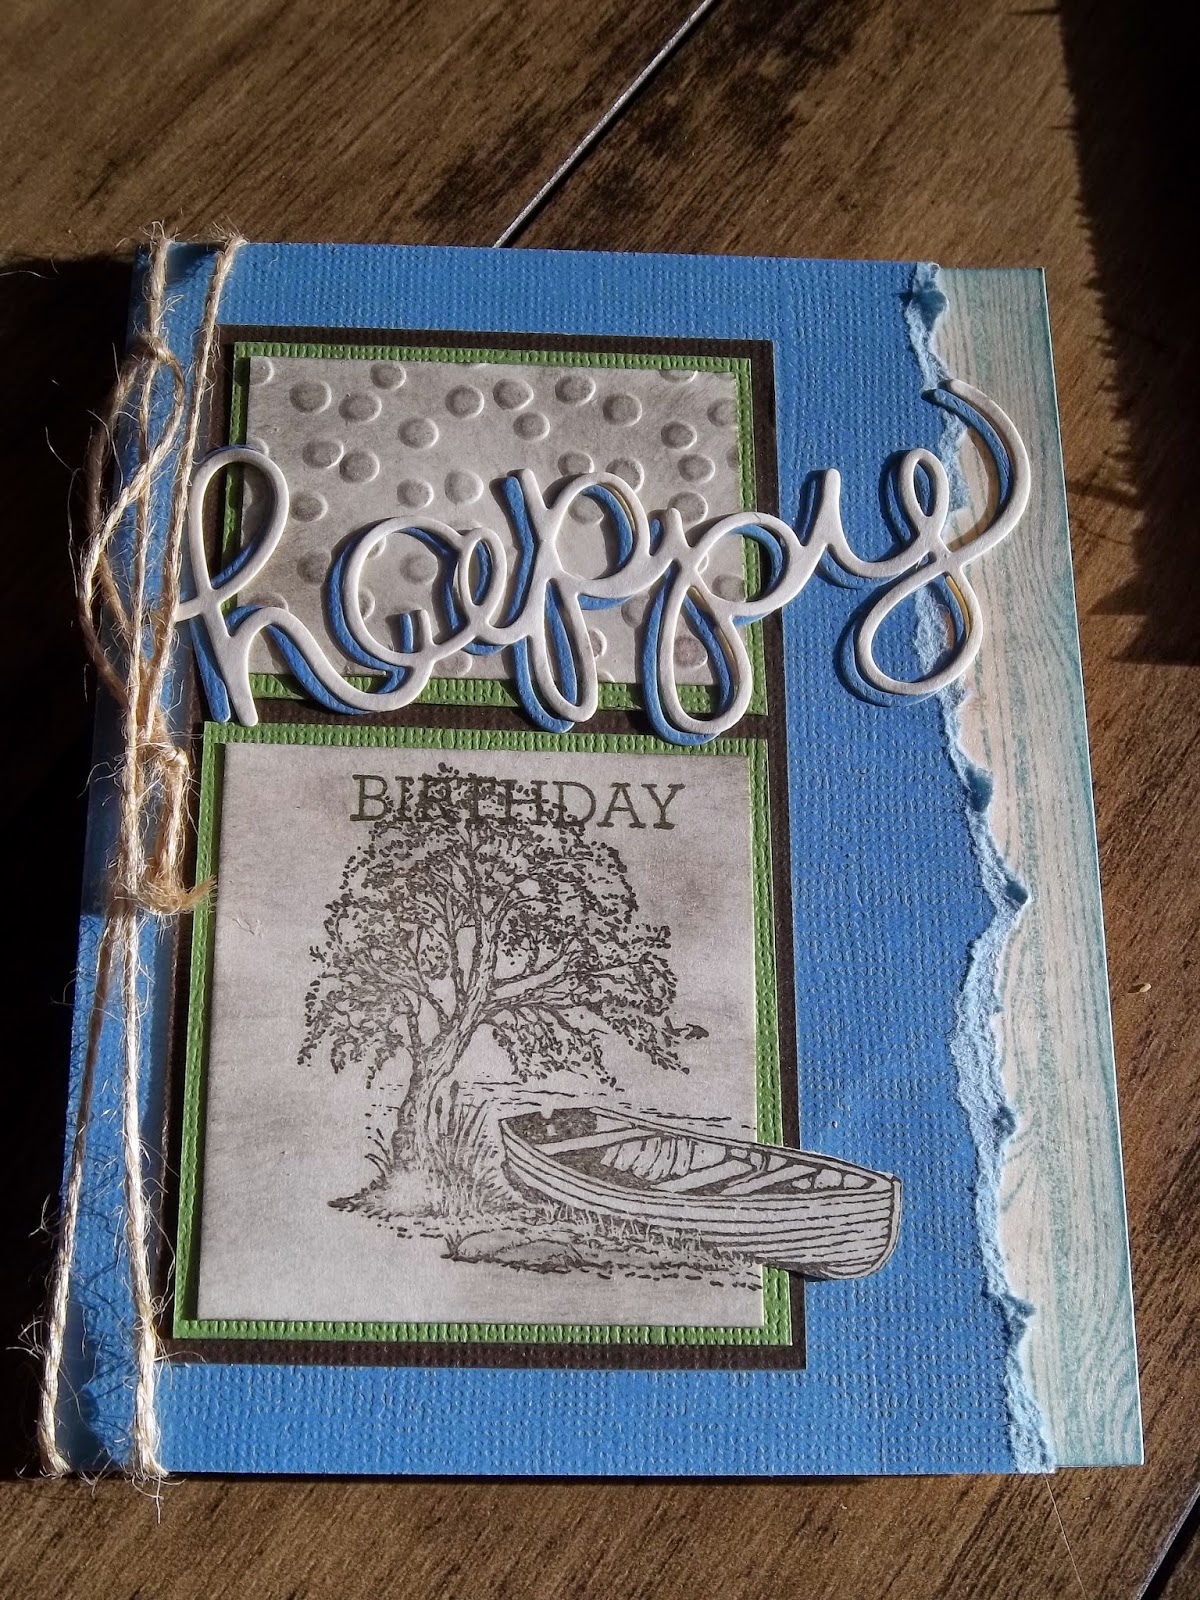
This card features the four-year-old's talent. He was so meticulous about it, trying to just touch the tip of his brush into the ink. He did so well, I was thrilled!!!

I sought his counsel with the finishing touches as well. He wanted the blackbird and rhinestones. (Imagine a four-year-old knowing what a rhinestone is! LOL!) He also chose the twine and the word "happy". I found "moments" among my stash and thought it was the perfect word to depict my art session with a buncha children!


Truly happy moments! Try it sometime soon! It's pure magic, the watercolor and the children!

Wednesday 11 March 2015

Just Kidding!


This is the funnest coolest stamp set EVER!! SU just released it and if you want it or NEED it as I did, click here to order it!

Friday 6 March 2015

The Challenge Spark (found art/item)

This week Jane from White Orchid challenged Tara from Country Girl {Creates} and me to FIND something and add it to our creation! So I found some burlap off my Basmati Rice bag! You know? I have such a hard time just trashing those bags since they are so lovely, but finally, how many burlap bags does one need to collect? Anyway, so I cut a strip and frayed the edges and center and made a "Miss You So Much" card.

MMMM, scrum! Those "Hello You" thinlits! and how wonderfully they pair up with the "Crazy about You" stamp set. Seems this is a break-through in my own creativity. Don't you just LOVE using different fonts together?!

And don't you just LOVE finding a practical use for Basmati Rice bags?!

Thursday 5 March 2015

two butterflies for you


One more post tonight and I'll give you a rest!

The pink Mother's Day card uses Hello You's "happy" as a negative space. It was a tad tricky getting the li'l insides into the word, but it worked! The butterfly is made from both DSP in that typeset I like so much as well as Basic Gray cardstock.

The bottom card is an easy Butterfly Basics collage with an orange butterfly and a bit of linen thread.

What I love about this butterfly is you can make it elegant, romantic, or just plain fun!

Truly a BASIC that you really can't be without!

That's all folks...

kinda mod Sheltering Tree


I debated whether or not I should show you this card as it's not particularly wonderful IMO. But here it is. I clear embossed the tree and then sponged on the colors.

While I like Sheltering Tree, I do have a brain block how to use it. I gravitate to the more realistic designs I guess.

So. This is the best I can do! LOL!

Butterfly Basics again! (thanks)


Not a lot to say about this card! It seems fairly self-explanatory! Dictionary, ever a favorite, along with the butterfly punches and Hello You thinlits dies "thanks".

Pleasant Poppies in a row

When I ordered this background stamp way back, like when it first came out, I said, "YES! THAT is one I'll use all the time!" But if you're like me, you have so many stamps you actually get very little mileage out of each stamp. Sad, I know. But I still love this one. It's so happy! And it's POPPIES! What's not to like about POPPIES???!!!

You can't see it very well on here, but the centers of these poppies have rhinestones colored with the Old Olive blendabilities. That's right. If you want your rhinestone a COLOR, color it! But make sure it's with an alcohol marker as anything water-based will rub off.

More Masculine (Moon Lake set)


There! The second batch of masculine cards, this time using Moon Lake. I also used Hardwood as it gives you such a rich wood grain feel.


You will see I used the Stampin' Distress Tool quite a lot also. I especially love it with the retired core'dinations cardstock, which is still available on the clearance rack at a greatly reduced price.

Now I think we're all set for awhile with cards for guys!

Walk in the Wild (masculine assortment)


It was time to have a whole bunch of man-cards on hand. Why are these always such a challenge for me? Anyway, I pulled out my Walk in the Wild stamp set and decided I was NOT going to make another feminine card until I'd replenished my stockpile of masculine ones. You'd think, living in a houseful of males, I'd be SOOOO inspired ALWAYS to have these around! But no! Maybe I get my fill otherwise! Anyway, below you'll see close-ups of the group above.


Another batch comin' up soon!